Grilled Gluten-Free Italian Herb Pizza Crust
Total Time: 02h 10m
Hands-on Time: 01h 05m
Makes: 4 servings
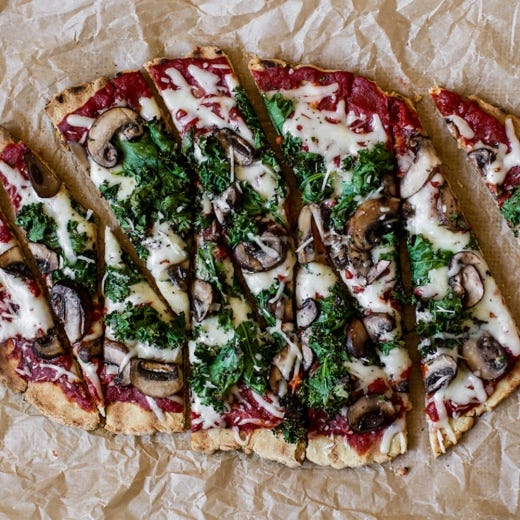
The secret to a great pizza is the crust. In this gluten-free version featuring oregano and basil, grilling produces a crisp, lightly charred crust that everyone can enjoy.
Share with your friends
Ingredients
- For the Crust:
- 1 1/4 cups gluten-free oat flour
- 1 cup potato starch (not potato flour)
- 2/3 cup quinoa flour
- 2/3 cup millet flour
- 1 1/2 teaspoons Frontier Co-op® Oregano
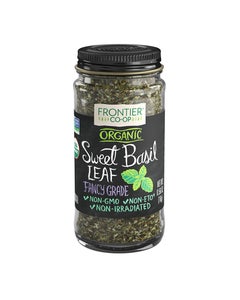
- 1 teaspoon Frontier Co-op® Sweet Basil
- 1 teaspoon Frontier Co-op® Baking Powder
- 1 teaspoon Frontier Co-op® Sea Salt
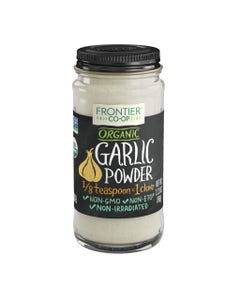
- 1/2 teaspoon Frontier Co-op® Garlic Powder
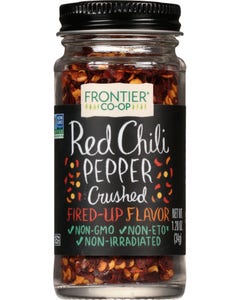
- 1/8 teaspoon Frontier Co-op® Crushed Red Chili Peppers
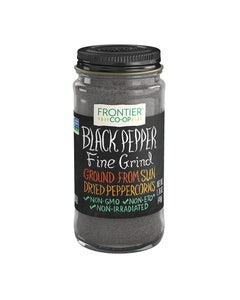
- 1/4 teaspoon Frontier Co-op® Black Pepper
- 1 cup + 2 tablespoons unsweetened soy milk, divided
- 2 to 2 1/4 teaspoons dry active yeast, (or 1 packet)
- 1 teaspoon Frontier Co-op® Cane Sugar
- 4 teaspoons ground flax meal
- 3 tablespoons warm water
- 1/4 cup sunflower oil, divided
- For the Pizza:
- Your choice of toppings and cheese (see recipe tips)
- 2 to 3 cups pizza sauce
Directions
- In a large mixing bowl (ceramic works well for dough), stir together the oat flour, potato starch, quinoa flour, millet flour, oregano, basil, baking powder, salt, garlic, red pepper flakes and black pepper until fully mixed. Set aside.
- Place soy milk in a small saucepan and gently warm over low heat until it reaches 105 to 115 degrees. It will feel just warm but not hot.
- Pour 3/4 cup of the milk into a cereal-sized bowl, sprinkle the yeast over top, and then the sugar. Whisk for just a few seconds then let sit undisturbed for 10 minutes. The yeast should rise and become very foamy once activated. If it does not become foamy it has not activated and you need to start this step over. It is most likely due to the milk being too hot or too cold. If it’s too hot the milk will kill the yeast.
- While the yeast mixture rests, whisk together the flax and water for 20 to 30 seconds until it starts to thicken. Set aside for 5 to 10 minutes. The flax mixture should be thick and gelatinous in texture after sitting.
- Form a well in the center of the flour mixture with your hand and pour in 3 tablespoons of oil, the flax mixture and the yeast mixture. Stir with a large spoon until the mixture is combined. It will be dry and crumbly and not dough-like at this point.
- Drizzle in more milk (approximately 1⁄4 cup) and knead until the mixture comes together and forms a dough ball, about 1 minute. The amount of milk needed will vary depending on how fresh your flours are. You may need slightly more or less than 1⁄4 cup.
- Slowly drizzle in 1 tablespoon at a time of the leftover warm milk and knead with one hand in the bowl to combine.
- Sprinkle a very light coating of oat flour onto a hard, flat surface and turn the dough out onto the surface. Knead with both hands for 5 to 7 minutes, folding over twice and pressing with your palms before turning 180 degrees and repeating. Do not skimp on the kneading. Set a timer to be sure you hit the 5-minute mark. The dough will feel rough and grainy at first but once you hit the 5-minute mark it should start to soften and feel smooth to the touch. The dough should have the texture of Play-Doh and feel slightly springy and stretchy when you’re done. It should be on the verge of being sticky while you knead the dough, so avoid over-flouring your surface. If the dough is cracked and feels dry, knead a bit of milk into it until soft and smooth.
- Once soft and smooth, form into a ball, place in your mixing bowl, and drizzle on about 1 to 2 teaspoons of oil. Coat the ball and sides of the bowl with the oil. Cover with a towel and place in a non-drafty, warm spot (ideally 75 to 80 degrees), undisturbed for 45 minutes. The dough will increase in size by about 75 percent. It will most likely not fully double in size. You can use your oven for proofing the dough turn the light on about 20 minutes prior to placing it in the oven to lightly warm. Place the towel on top of the bowl and place it in the oven on the bottom rack for 45 minutes. This helps keep a constant warm temperature while eliminating any drafts. There are many other popular methods for proofing dough, as well. Placing in a sunny spot should also do the trick but may take longer to rise if not 75 to 80 degrees.
- Preheat your grill. Real wood charcoal tastes best, but gas works fine. Avoid instant-light briquettes as they make food taste like lighter fluid. Aim for medium-high/high heat – if your grill lid has a thermometer built into the lid, it should read about 400 degrees.
- Score the dough into 3 or 4 segments, remove one, cover the bowl with the towel, then knead for about 30 seconds until smooth. When you start to knead, the dough may feel a bit crumbly but it will quickly return to its smooth state.
- Lightly brush a large piece of parchment paper with oil. Roll dough into an oblong shape (easiest for grilling) between 1⁄8 to 1⁄4-inch in thickness. Be sure the dough is rolled evenly and thinly. The dough should roll easily and hold together very well (except for possible slight cracking around the edges).
- If the edges crack, lightly crimp them together with your fingers or slice away with a knife, but avoid forming a thick edge. Brush the entire surface and edges with a light coating of oil.
- Place on a baking sheet and cover with parchment to help avoid drying out.
- Repeat with one more segment of dough (if your grill is big enough to fit two pizzas; otherwise, roll one at a time and keep the dough covered in the bowl).
- Set out all of your pizza toppings next to the grill. Have them pre-chopped, pre-cooked, shredded, etc. and have your sauce in an open jar with a spatula for easy spreading.
- Using a silicone brush, thoroughly grease your grill grates with sunflower oil (or other high-heat-safe oil).
- Peel back the top parchment and very gently flip the pizza onto the grill grates with your hand/arm under the bottom layer of parchment.
- Peel back the parchment and grill for 4 to 6 minutes until golden brown around the edges. Avoid over-cooking as it will become more fragile to flip as it cooks longer.
- Slide a large metal spatula under the dough and gently turn over using your other hand as a brace to slowly lower to the grill.
- Immediately top with sauce, cheese and other toppings then close the grill until the cheese has fully melted, about 3 to 4 minutes.
- Remove from the grill with the help of two metal spatulas and place onto a baking sheet. Place in a warm oven (about 225 degrees) to keep warm while you grill the other pizzas. Or, slice with a large, sharp knife or pizza blade on a cutting board and serve hot. Then grill the other pizzas and serve in rounds. Cooking one pizza at a time helps ensure even cooking on the grill, especially if your grill heats unevenly. The pizza slices should hold together well when cut and not sag at all in the center.

